Preparing for a backpacking adventure involves meticulous planning and strategic packing, with every item in your backpack serving a crucial purpose. Among the essential gear, the tent stands as a cornerstone, providing shelter and comfort amidst the rugged wilderness. As you embark on your journey to explore the great outdoors, mastering the art of packing a tent in your backpack becomes paramount.
In this guide, we delve into the intricacies of efficiently packing a tent for your backpacking excursions. From selecting the right tent to organizing its components within your pack, every step plays a crucial role in optimizing space, minimizing weight, and ensuring seamless access to other essentials.
Join us as we navigate through the key considerations and techniques for packing your tent, empowering you to embark on your backpacking adventures with confidence and ease.
Choosing the Right Tent

Selecting the appropriate tent for your backpacking adventures is the first step towards efficient packing. Here’s what you need to consider:
Type of Backpacking Tent:
There are various types of backpacking tents available, each with its own set of features and considerations. Freestanding tents are self-supporting and easy to set up, while non-freestanding tents require staking for stability but are often lighter.
Semi-freestanding tents offer a balance between the two. Consider factors such as weight, interior space, and weather resistance when choosing the right type of tent for your needs.
Weight and Packability:
Backpacking tents come in a range of weights, from ultralight models designed for minimalist backpackers to more spacious tents with added features and durability. Consider how much weight you’re willing to carry and prioritize tents that strike a balance between weight and functionality. Look for tents that pack down compactly to save space in your backpack.
Capacity and Interior Space:
Determine how many people will be sharing the tent and consider the tent’s capacity accordingly. Keep in mind that backpacking tents are often snugger than car camping tents, so opt for a tent that offers enough room for occupants to sleep comfortably without feeling cramped.
Consider additional features such as vestibules for gear storage and interior pockets for organization.
Season and Weather Resistance:
Choose a tent that is suitable for the weather conditions you’re likely to encounter on your backpacking trips. Three-season tents are versatile and suitable for most conditions encountered during spring, summer, and fall, while four-season tents are designed to withstand harsh winter conditions, including heavy snow and high winds.
Ensure that the tent’s rainfly and floor are made from durable, waterproof materials to keep you dry during inclement weather.
Ease of Setup and Durability:
Look for tents that are easy to set up and take down, especially if you’ll be pitching your tent in challenging terrain or adverse weather conditions. Consider features such as color-coded poles, intuitive pole clips, and quick-release buckles for hassle-free setup.
Additionally, prioritize tents made from durable materials that can withstand wear and tear from repeated use on the trail. By carefully considering these factors and choosing a tent that aligns with your backpacking needs and preferences, you’ll ensure a comfortable and enjoyable outdoor experience.
Take the time to research and test out different tent models before making a decision, and invest in a high-quality tent that will withstand the rigors of your backpacking adventures.
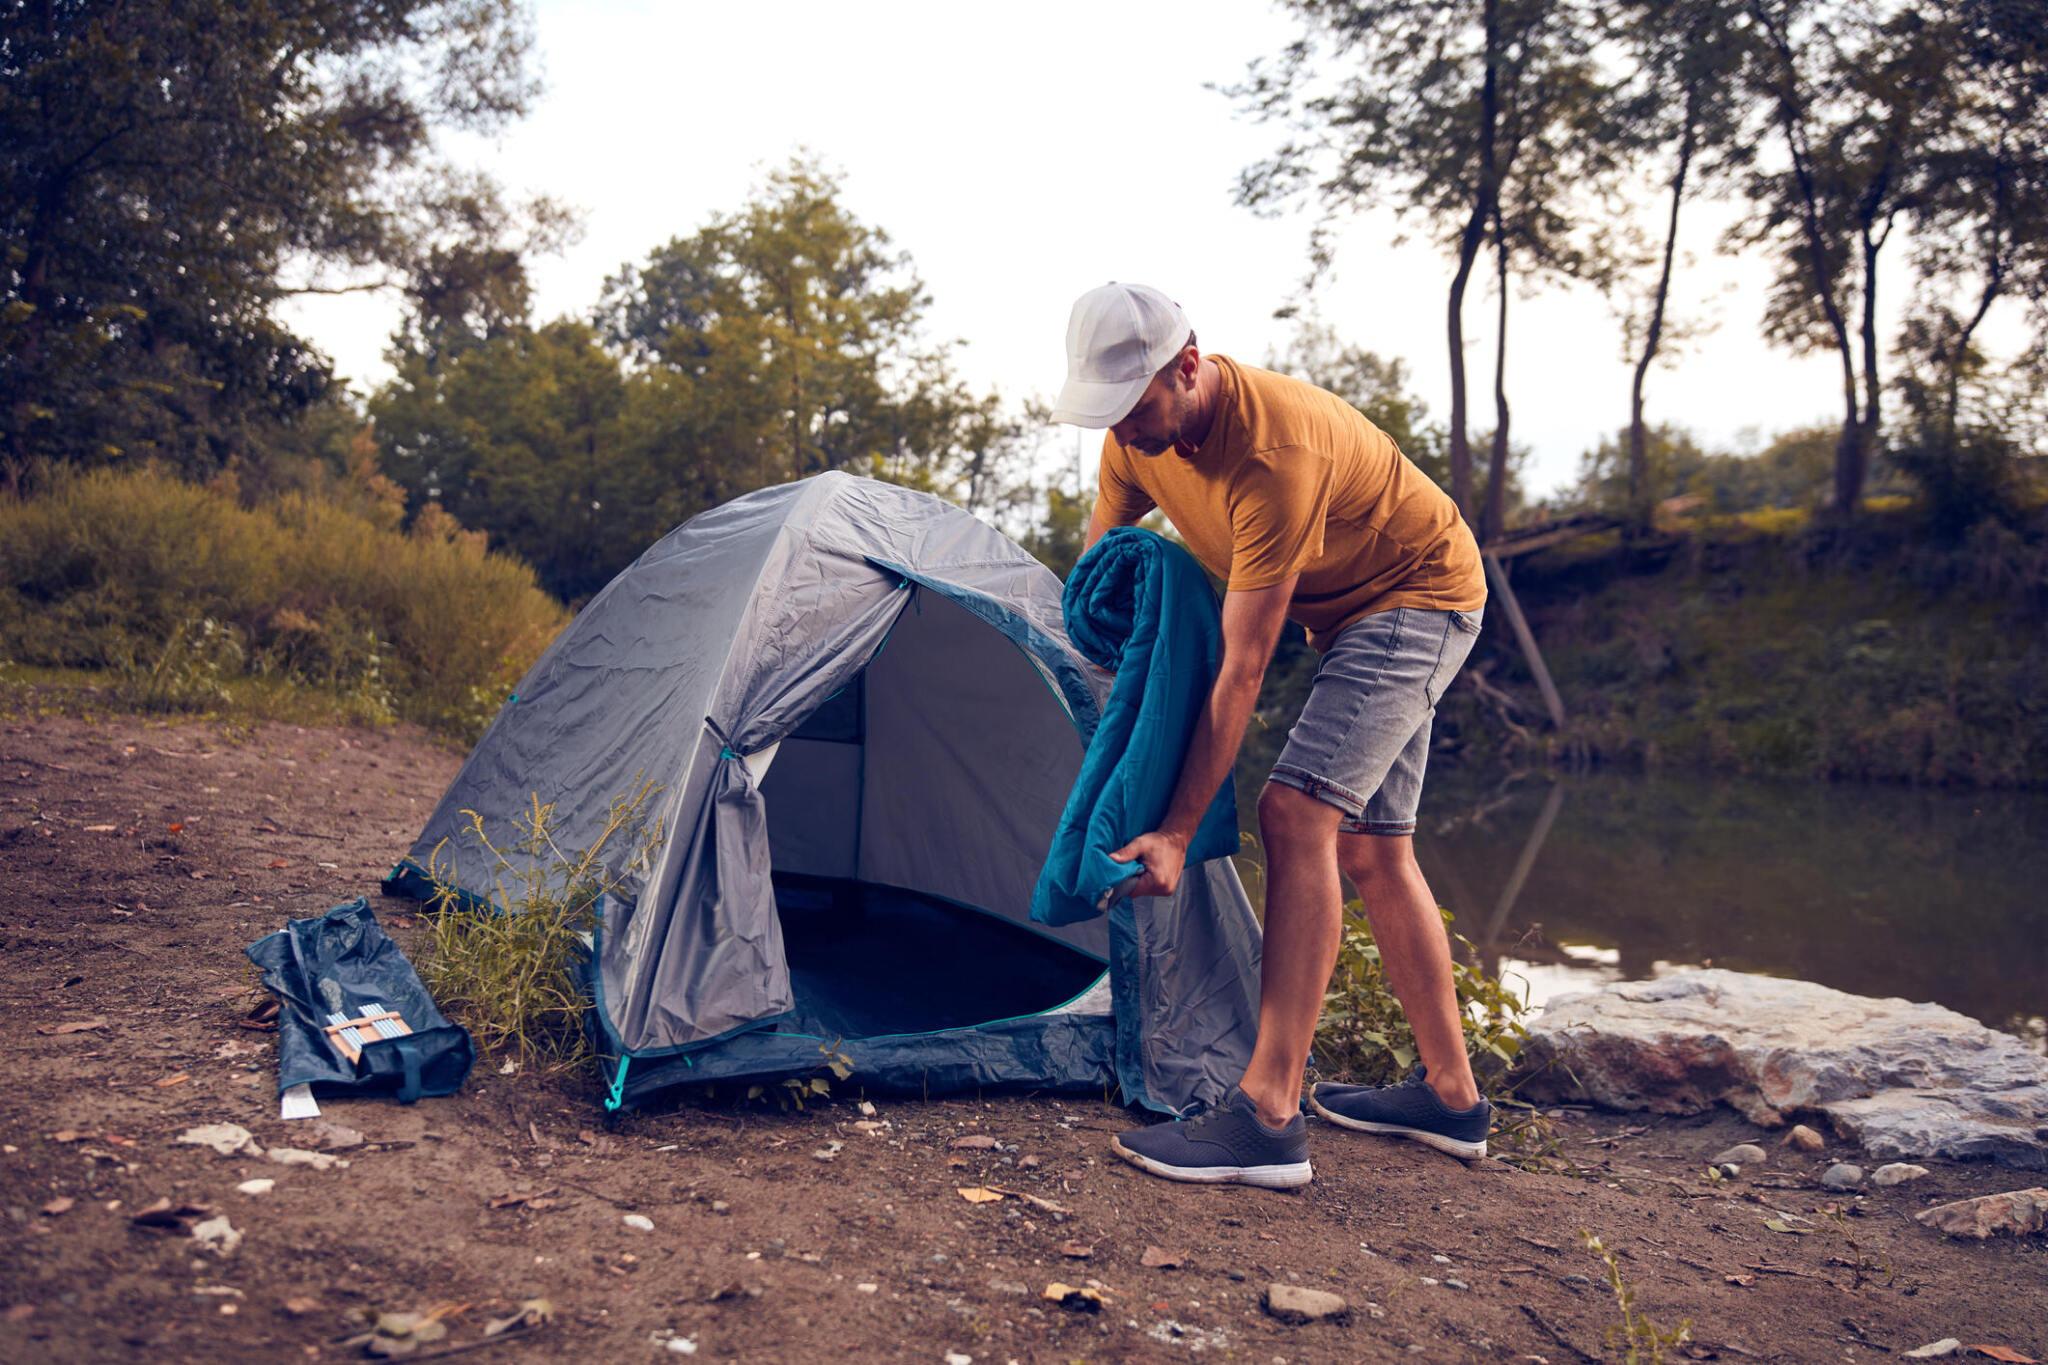
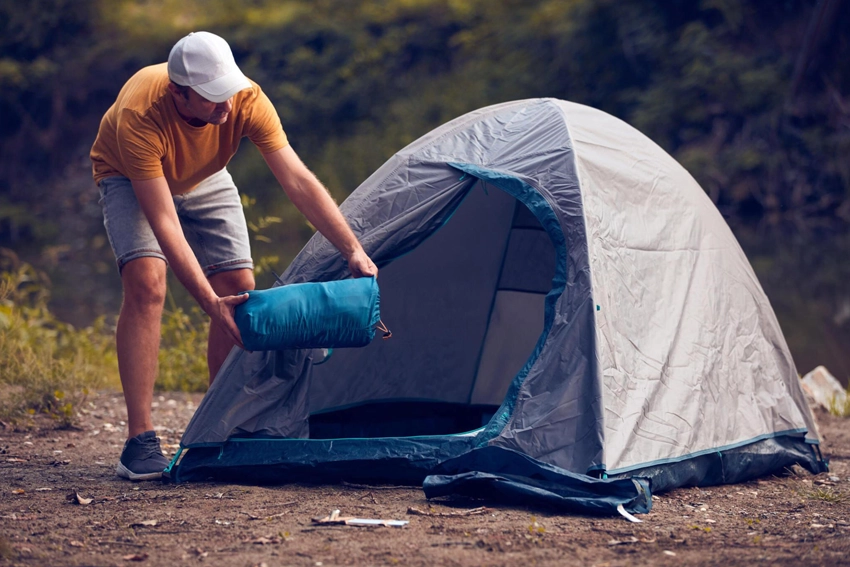
Disassembling and Folding the Tent
Properly disassembling and folding your tent is essential for efficient packing and ensuring that it remains in good condition for future use. Here’s a step-by-step guide:
Remove Stakes and Guy Lines:
Start by removing any stakes or guy lines securing the tent to the ground. Carefully pull out each stake, being mindful of any tension on the lines, and coil the guy lines neatly to prevent tangling.
Take Down the Rainfly:
If your tent has a separate rainfly, remove it by unclipping or unzipping it from the tent body. Lay the rainfly flat on the ground and fold or roll it neatly to minimize bulk.
Collapse the Tent Poles:
Next, collapse the tent poles by disassembling them according to the manufacturer’s instructions. Most tent poles are connected by shock cords, making them easy to fold or collapse into shorter segments.
Dismantle the Tent Body:
Once the tent poles are removed, dismantle the tent body by unclipping or unzipping it from the poles. Lay the tent body flat on the ground and smooth out any wrinkles or creases to facilitate folding.
Fold or Roll the Components:
Begin folding or rolling each component of the tent, starting with the tent body. Fold it in half lengthwise, then in thirds or quarters, depending on its size. Repeat this process for the rainfly, folding or rolling it neatly to match the size of the tent body.
Organize and Secure:
Once all components are folded or rolled, organize them in a logical order to optimize space within your backpack. Place heavier items such as tent poles at the bottom of your pack to distribute weight evenly, and use compression straps or stuff sacks to secure the tent components and prevent shifting during transit.
Perform Final Checks:
Before packing away your tent, perform a final check to ensure that all components are properly folded, rolled, and secured. Double-check that no stakes or guy lines are left behind, and inspect the tent body and rainfly for any signs of damage or wear that may require repair or replacement.
Packing the Tent in Your Backpack
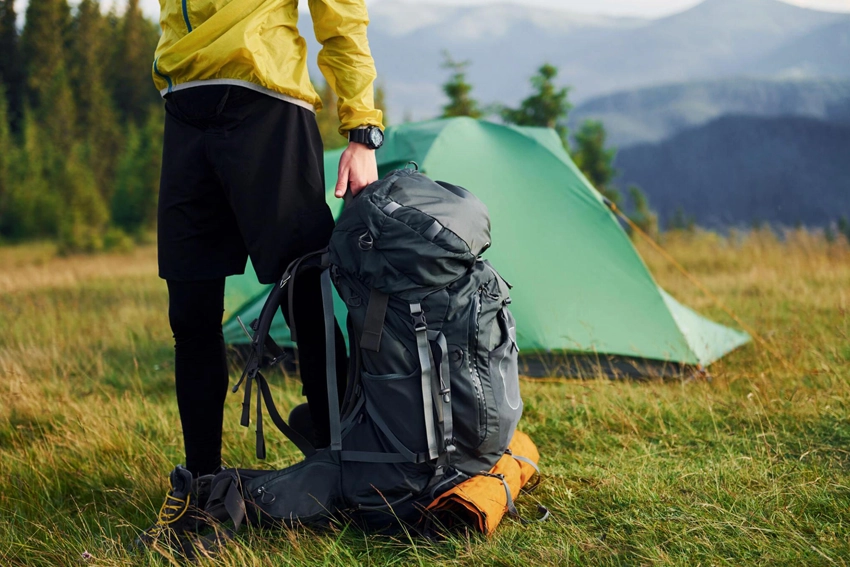
Once you have disassembled and folded your tent components, it’s time to pack them into your backpack efficiently. Here’s how to do it:
Base Layer Placement:
Start by placing the folded tent body or footprint at the bottom of your backpack as the base layer. This helps distribute weight evenly and provides a stable foundation for packing the rest of your gear.
Tent Poles:
Next, insert the collapsed tent poles vertically along the sides of your backpack, using the internal compression straps or pockets if available. Position them to minimize protrusion and prevent them from poking into your back while hiking.
Rainfly and Accessories:
Slide the folded or rolled rainfly on top of the tent body, sandwiching it between the tent poles and the main compartment of your backpack. If your backpack has external attachment points or pockets, consider securing the rainfly there to free up space inside the main compartment.
Organize Small Components:
Place smaller tent accessories such as stakes, guy lines, and repair kits in designated pockets or compartments within your backpack. Utilize zippered pockets, mesh pouches, or gear loops to keep these items organized and easily accessible when needed.
Compression and Adjustment:
Once all tent components are packed, use the internal compression straps or cinch straps to secure them in place and compress the contents of your backpack. Adjust the straps to distribute weight evenly and maintain a balanced load, ensuring comfort and stability while hiking.
Final Checks:
Before hitting the trail, perform a final check to ensure that all tent components are securely packed and properly balanced within your backpack. Double-check that no stakes or guy lines are protruding from the pack and that the rainfly is adequately protected from potential snags or abrasions.
Final Checks and Adjustments
Before you hit the trail, it’s essential to perform a final round of checks to ensure that your tent is packed securely and your backpack is properly adjusted. Here’s what to do:
Stability and Balance:
Check the stability and balance of your backpack by lifting it and shifting your weight from side to side. Ensure that the weight is evenly distributed and that your pack feels comfortable and stable on your back.
Compression Straps:
Double-check that all compression straps are tightened securely to compress the contents of your backpack and prevent shifting while hiking. Adjust the straps as needed to maintain a balanced load and minimize movement.
Accessibility:
Verify that essential items such as water bottles, snacks, and navigation tools are easily accessible without having to unpack your entire backpack. Arrange items strategically within your pack to ensure that frequently used items are within reach when needed.
Rainfly Protection:
Inspect the rainfly to ensure that it is adequately protected from potential snags or abrasions during your hike. Tuck any loose ends or excess fabric under compression straps or secure them with gear loops to prevent damage to the rainfly.
Comfort and Fit:
Take a moment to adjust the shoulder straps, hip belt, and sternum strap of your backpack to achieve a comfortable and snug fit. Ensure that the weight of your pack is evenly distributed and that the shoulder straps are not digging into your shoulders or causing discomfort.
Emergency Essentials:
Double-check that you have essential emergency items such as a first aid kit, navigation tools, and communication devices readily accessible in case of emergencies. Familiarize yourself with the location of these items within your backpack to expedite access during critical situations.
Environmental Considerations:
Take a moment to assess environmental factors such as weather conditions, terrain difficulty, and potential hazards before setting out on your hike. Adjust your gear and pack contents accordingly to ensure that you’re prepared for the challenges ahead.
In Conclusion
As you conclude your preparations for your backpacking adventure, you’ve mastered the essential skills needed to pack your tent efficiently and embark on your journey with confidence. By carefully selecting the right tent, disassembling and folding its components, and packing them strategically in your backpack, you’ve optimized space, minimized weight, and ensured ease of access to other essentials.
As you hit the trail, remember the importance of performing final checks and adjustments to ensure that your gear is packed securely and your backpack is properly adjusted for maximum comfort and stability. Take the time to familiarize yourself with your gear and pack contents, and be prepared to adapt to changing environmental conditions and terrain challenges along the way.
And for moments of relaxation and comfort at your campsite, don’t forget to check out our guide to the best backpacking chairs for a well-deserved rest after a day of adventure.
Above all, cherish the moments of solitude and connection with nature that backpacking offers. Whether you’re navigating through rugged landscapes, setting up camp under the stars, or sharing stories around a campfire with fellow adventurers, each step of your journey is a testament to your resilience, resourcefulness, and reverence for the great outdoors.
As you venture forth into the wilderness, may your backpacking adventures be filled with unforgettable experiences, meaningful connections, and a profound appreciation for the beauty and wonder of the natural world. Safe travels, and may your journey be as rewarding as the destination itself.


